Building Entrances in Winter: Protecting Stone Against Salt, Mud and Meltwater
In winter, the entrance is the part of a building that wears the most. Salty meltwater from the sidewalk, and mud and sand stuck to shoe soles, build up on the first few metres of stone flooring; over the months this shows up as loss of shine, white stains and a slippery film. In this article we cover what salt does inside the stone, how to tell the white marks seen at the entrance apart, how to choose a de-icer for outdoor steps, the cleaning routine through winter, and the restoration to carry out when spring comes. It was written especially for managers of apartment buildings, office towers, schools and public buildings, but the same logic applies to the entrance of a detached house.
In short: Most winter damage occurs in the first few metres of the entrance, where salt, sand and water work together. The soundest approach is to stop salt at the door, choose the de-icer to suit the stone, avoid letting salt residue build up through dry collection and neutral cleaning during the winter, and wash the floor at the end of winter and restore it if necessary.
Three Things That Wear Down Entrance Stone in Winter

Winter damage does not come from a single cause, but from three factors working together. The first is sand: sand and fine gravel spread on roads and sidewalks are carried inside on shoe soles and act like sandpaper with every step. Calcite, the main mineral of marble, has a hardness of 3 on the Mohs scale, while quartz sand is around 7. This difference explains why a polished marble entrance can turn dull within a few weeks in winter.
The second is salt. The salt used against ice on roads and sidewalks dissolves in meltwater, is carried in on shoes, and settles on the stone's surface and in its pores. The third is water: meltwater is both the vehicle that carries salt into the stone and a factor that increases the risk of slipping on a wet floor. When these three come together, an entrance that stayed trouble-free for years in summer can be noticeably worn down in a single harsh winter.
What Does Salt Do Inside the Stone?
Dissolved salt enters the stone's pores and micro-cracks along with water. As the water evaporates, the salt crystallizes, and the growth of the crystals presses against the pore walls. As the wetting and drying cycle repeats, this crystallization pressure can cause flaking, small pits and dusting on the stone's surface. The damage is invisible at first; salt accumulates in the pores, and after a certain threshold the surface shows it.
Stones do not all behave the same way against this effect. Porous, water-absorbing stones, such as travertine, limestone and some sandstones, take in salt more easily. Polished marble absorbs less, but salt residue leaves a thin film on the surface, and the calcite surface is vulnerable to wear. Granite is generally more durable; even so, light-coloured, porous granites can absorb salty water and stain. Outdoors, the freeze-thaw effect is added: water in the pores expands as it freezes and, together with the salt, stresses the stone from within. We have also explained how exterior stone withstands this cycle in cold climates in our article on freeze-thaw as well.
All chloride salts are risky for stone, but they behave differently. Sodium chloride, that is, the rock salt we all know, is the most common and cheapest de-icer; it is also the source of the most frequently seen salt damage in stone. Calcium chloride and magnesium chloride are salts that draw moisture from the air, that is, hygroscopic salts; they never dry completely and can leave a damp, slippery film on the surface. This film creates both stains and a slip risk, especially when carried indoors.
White Marks: Salt Carried In or Salt Coming from Inside the Stone?
The white marks seen at the entrance in winter can have two different sources, and they are treated differently. The first is de-icer residue carried in on shoes. These marks usually follow the walking path, the route from the door to the elevator or the stairs; they are spread in the form of footprints or along mop marks. The second is salts rising from the screed under the stone or from the joints; in this case the marks concentrate along joint lines, at the foot of walls or at tile edges, and are independent of the walking path.
A simple observation is enough to tell them apart. Wipe the mark with a damp cloth and leave it to dry; if the mark on the walking path does not return after being wiped, it is most likely carried-in salt. If the wiped mark reappears on the same joint line within a few days, the salt is coming from inside or beneath the stone and its source is moisture. We covered this second case in detail in our article on white salt efflorescence on interior floors there, the solution is not cleaning but finding the source of the moisture.
Mat Zones from the Door Inward
The cheapest place to fight salt and sand is the door itself. Salt that does not reach the floor does not have to be cleaned up either. An effective winter entrance setup consists of successive zones that rid the shoe, in a few steps, first of coarse dirt and then of water.
In a winter entrance setup, the zones are usually arranged as follows:
- Outer scraper zone: Outside the door, a coarse-ribbed or grated mat takes snow, mud and coarse sand off the shoe in the first steps and holds them before they get inside.
- Vestibule or intermediate zone: A mat between the doors that both scrapes and absorbs collects the remaining sand and a large part of the water; in entrances with two doors, this is the most efficient spot.
- Inner drying zone: Before the stone floor begins, a long, absorbent mat dries the shoe soles; if it is not long enough, the water from the last steps is carried directly onto the stone.
- Buffer strip: In places where crowds wait, such as in front of the elevator and at the foot of the stairs, a temporary winter runner narrows the area over which salty water spreads.
A mat's usefulness depends on its upkeep. A saturated mat cannot hold salty water; it only passes it on to the next step. On snowy days, the inner mats should be replaced during the day, the floor beneath them dried, and rubber-backed mats checked for whether they leave marks on the stone. Marble left for a long time under a wet mat can show ring-shaped darkening or yellowing.
Ice on Outdoor Steps and Ramps: Shovelling and De-Icer Choice

On stone steps and ramps, the first line of defence is mechanical: shovelling while it snows and right afterwards greatly reduces the need for de-icer. The shovel edge must not damage the stone; metal-edged shovels and ice breakers can leave scratches on polished or honed stone and chips on the step nosing. Plastic-edged shovels and brushes are safer on stone surfaces. Using a hammer or chisel to break ice wears the stone down much faster than salt does.
When de-icer is needed, the aim is to use the minimum necessary amount of the most appropriate product. The table below compares common options from the stone's point of view:

| Option | From the stone's perspective | Points to watch |
|---|---|---|
| Sodium chloride (rock salt) | Cheap and common, the most frequent source of salt damage in stone | Should be used sparingly; keep it from being carried indoors by meltwater |
| Calcium chloride | Hygroscopic, does not dry completely | Can leave a slippery, damp film on the surface |
| Magnesium chloride | Still risky for stone as a chloride salt | Can cause film and stains when carried indoors |
| Acetate-based products | Offered as a chloride-free option | Look for natural stone suitability on the label; the cost is high |
| Sand or crushed stone | Does not melt ice, only provides traction | Abrades the floor if carried indoors; an entrance mat is essential |
| Mechanical cleaning | The safest method | Use a plastic-edged shovel and brush |
Whichever product is chosen, the label should be read from two angles: the product's ingredients and its suitability for use on natural stone or concrete. The phrase "does not harm stone" alone is not enough; the ingredient list and the manufacturer's technical information should be the basis. For general tips on reading labels, see our article on cleaning product labels collected. When spreading de-icer, applying it only to the walking path and the stair nosings rather than the entire stone step noticeably reduces the amount used.
Cleaning Routine Indoors Throughout the Winter
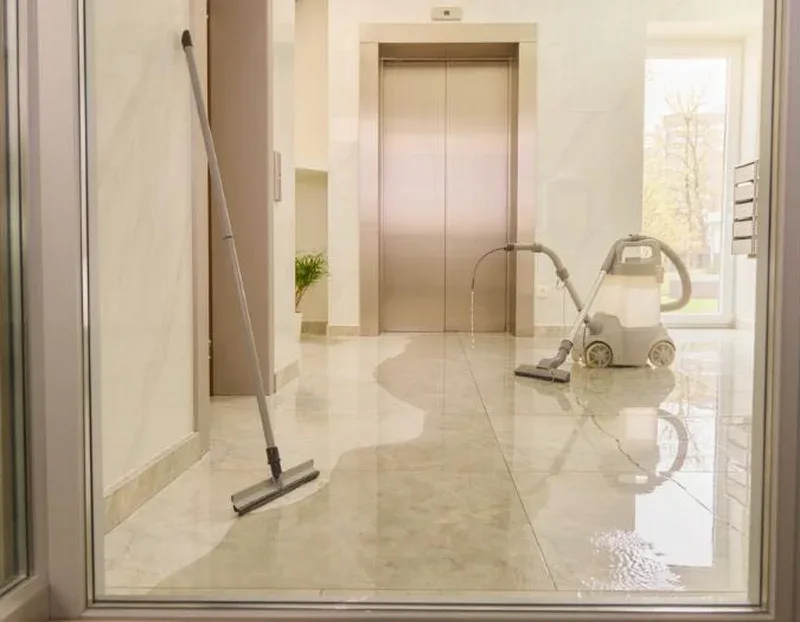
The most common mistake on stone floors in winter is putting a wet mop directly onto a salty, sandy floor. Sand is dragged across the floor by the wet mop and leaves scratches; salt dissolves in the water and is spread by the mop throughout the whole corridor. The right order is dry collection first, then wet cleaning.
A daily routine that can be applied at entrances in the winter months consists of the following steps:
- Dry collection: Sand and salt crystals are first removed with a dry microfiber mop or a broom; on busy days this is repeated several times during the day.
- Neutral cleaning: A pH-neutral stone cleaner is added to the water at the manufacturer's dosage; an excessive dose leaves residue on the surface and increases the salt film.
- Frequent water changes: Once the bucket water is saturated with salt, it no longer cleans the floor but spreads the salt again; for this reason the water is changed frequently at the entrance, and two buckets are used if possible.
- Rinsing and drying: The final pass is made with clean water and the floor is dried; a floor left wet is both slippery and brings salt back up to the surface.
There is an important warning here: a significant portion of the "neutralizer" products sold on the market for de-icer residue are mildly acidic. These products are designed for concrete or ceramic; on calcite-containing surfaces such as marble, travertine, limestone and terrazzo they leave acid marks. Home remedies such as vinegar and lemon are unsuitable for the same reason. On calcite-containing stone, salt residue is removed with a neutral cleaner and plenty of clean water, with a few repetitions if necessary.
At a wet entrance, safety is also part of cleaning. Wet floor warning signs should be visible not only during cleaning but at all hours when snow water is being tracked in. We covered the measures that reduce the risk of slipping in our article on accident prevention on wet floors .
End of Winter: Washing, Repair and Renewal
When the snow season is over, the floor must be freed not only of visible dirt but also of the salt that has penetrated the pores. The first step is to wash the entrance and the exterior steps with plenty of clean water and collect the water. On porous stones this process can be repeated several times; in areas with heavy salt buildup, a known restoration method is to apply a paper pulp or clay-based poultice to the stone and let it dry so that it draws the salt out. We explained which poultice to use and how to prepare it in our article on the stain-removal poultice .
After washing, the floor is examined in daylight and with light coming from the side. The main points to check at the end of winter are as follows:
- Dulling and scratches: If the loss of shine along the walking path is slight, a polish renewal is enough; if the scratches are deep, grinding through fine grit stages is required.
- Flaking and pitting: Places on the exterior steps where the surface flakes off in scales are a sign of salt and frost damage; repair and, if necessary, slab replacement are planned.
- Grout loss: Emptied or crumbled joints let water get under the stone and increase the damage of the next winter.
- Hollow slab: Slabs that sound hollow when tapped may have shifted because the water beneath them froze and thawed; they must be fixed in place before grinding.
After this inspection, the work is planned according to the degree of damage. At most entrances, a light grinding and polishing at the end of winter makes the floor ready for the next winter. A sealer applied after the stone has dried completely slows the penetration of salt water into the pores and makes the next cleaning easier; how long the sealer remains effective impregnation lifespan article we explained. For exterior steps, it is important that the chosen product is vapor permeable; otherwise the moisture inside cannot escape and salt damage continues beneath the surface.
Winter Calendar: What to Do and When
Winter protection gives the most reliable results when it starts with preparation before the season and ends with renewal after the season. A practical calendar for building managers can be set up as follows:
| Period | Task | Responsible |
|---|---|---|
| Before winter | Checking the doormats and replacing them, impregnation test, joint repair, stock of de-icer and shovels | Building management |
| Snowy days | Early shoveling, moderate use of de-icer, replacing indoor mats, frequent dry collection | Staff on duty |
| Every day throughout winter | Dry collection, neutral cleaning, frequent water changes, drying, warning sign | Cleaning team |
| End of winter | Rinsing with plenty of water, poultice if necessary, damage inspection | Management and specialist company |
| Spring | Honing and polish renewal, impregnation, winter report | Specialist company |
The most neglected row in this calendar is the pre-winter one. An entrance that has had its impregnation renewed in November, with sound joints and mats in place, comes out in March with far less damage. It also becomes easier to link the calendar to the annual maintenance plan for the whole building; for the budget side, see the annual maintenance budget article .
To see how the stone at your entrance has come through the winter and to plan the spring renewal, you can send a few photos of the floor and its approximate dimensions via the service request form ; we will determine together, with an on-site inspection, which treatment will be sufficient.
A Short Preparation Before Winter Arrives

Some winter damage can be prevented before the first snow falls. We recommend taking a quick walk around the entrance in autumn and checking a few points.
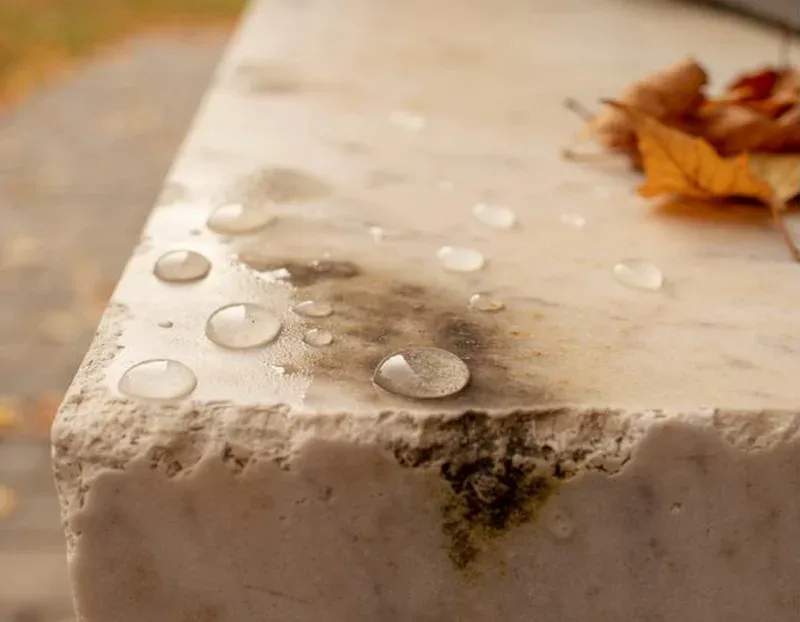
- Drop test: Place a few drops of water on the entrance stone; if the water quickly leaves a dark stain and soaks in, the impregnation should be renewed.
- Joints and stair nosing: If emptied joints and cracked stair nosings are repaired before winter, frost and salt cannot get in through these points.
- Supplies: If a plastic-edged shovel, a de-icer suitable for stone and a spare indoor mat are kept ready in advance, you won't have to resort to just any product on a busy day.
A Late-Winter Renovation in an Apartment Building Entrance

In the marble entrance of a busy apartment building, we often see the same picture at the end of winter: a dulled walking path along the strip from the door to the elevator, a whitish film along the mop marks, and slight flaking on the outdoor steps. For a job like this, we first wash the floor with plenty of water several times to make sure the film is completely gone.
Then we hone and polish the interior walking path in fine stages, and assess the flaking areas on the outdoor steps separately. Once the stone has dried, a sealer is applied, and we leave the building management a recommendation for a doormat arrangement for the next winter.
Always pick up salty slush with a dry method before wiping with a wet mop; otherwise you'll end up with scratches from the grit and a film of salt spread across the entire hallway. — Expert Tip
Frequently Asked Questions About Stone at Building Entrances in Winter
01What can I use instead of salt on marble steps?
02Are granite steps affected by salt?
03Why did a yellow ring form on the stone under the doormat?
04Why does calcium chloride leave the floor slippery?
05Does the sealer need to be renewed during winter?
06Why does the entrance floor dull faster than usual in winter?
Related Articles
Efflorescence on Interior Floors: Moisture from Screed and Adhesive, Freeze-Thaw in Central Anatolia: Preparing Outdoor Stone for Winter, Preventing Slip Accidents During Cleaning: Wet Floor Management, Marble Maintenance Schedule by Foot Traffic: Lobby, Corridor and Apartment, Cleaning Flamed Granite Steps and Floors